How to Safely Install Roof Gables: A Step-by-Step DIY Guide for Homeowners
Installing roof gables is an impactful way to enhance your home’s aesthetic appeal. While this project can seem intimidating, careful planning and methodical execution make it achievable for homeowners. This guide covers everything from planning to execution, ensuring safety and structural integrity throughout the process.
Understanding Roof Gables
Roof gables refer to the triangular portion of a wall between the edges of intersecting roof pitches. They play a crucial role in protecting your home against the elements and also serve as a focal point in architectural design.
Types of Roof Gables
- Front Gable: Positioned at the front facade, this is one of the most common styles.
- Side Gable: A gable that runs parallel to the front of the house, often seen in traditional designs.
- Cross Gable: Formed when two gable roofs intersect, creating a distinct architectural style.
- Hip Gable: Features a sloped edge rather than sharp lines, providing a softer look.
Planning Your Gable Installation
Proper planning is vital for a successful gable installation. Here are the key steps to take before you begin.
Gathering Necessary Tools and Materials
Before starting, make sure you have the following tools and materials:
- Measuring tape
- Levels
- Hammer and nails or a nail gun
- Saw (hand saw or power saw)
- Wood (5/8th inch plywood or OSB for sheathing)
- Roofing shingles
- Safety gear (gloves, goggles, hard hat)
Checking Local Regulations
Always review your local building codes and regulations regarding roofing construction. Obtain any necessary permits and ensure your plan adheres to zoning laws.
Assessing Existing Structure
Inspect the roof structure where you plan to install the gable. Look for existing damage, structural weaknesses, or any other issues that should be addressed before beginning your installation.
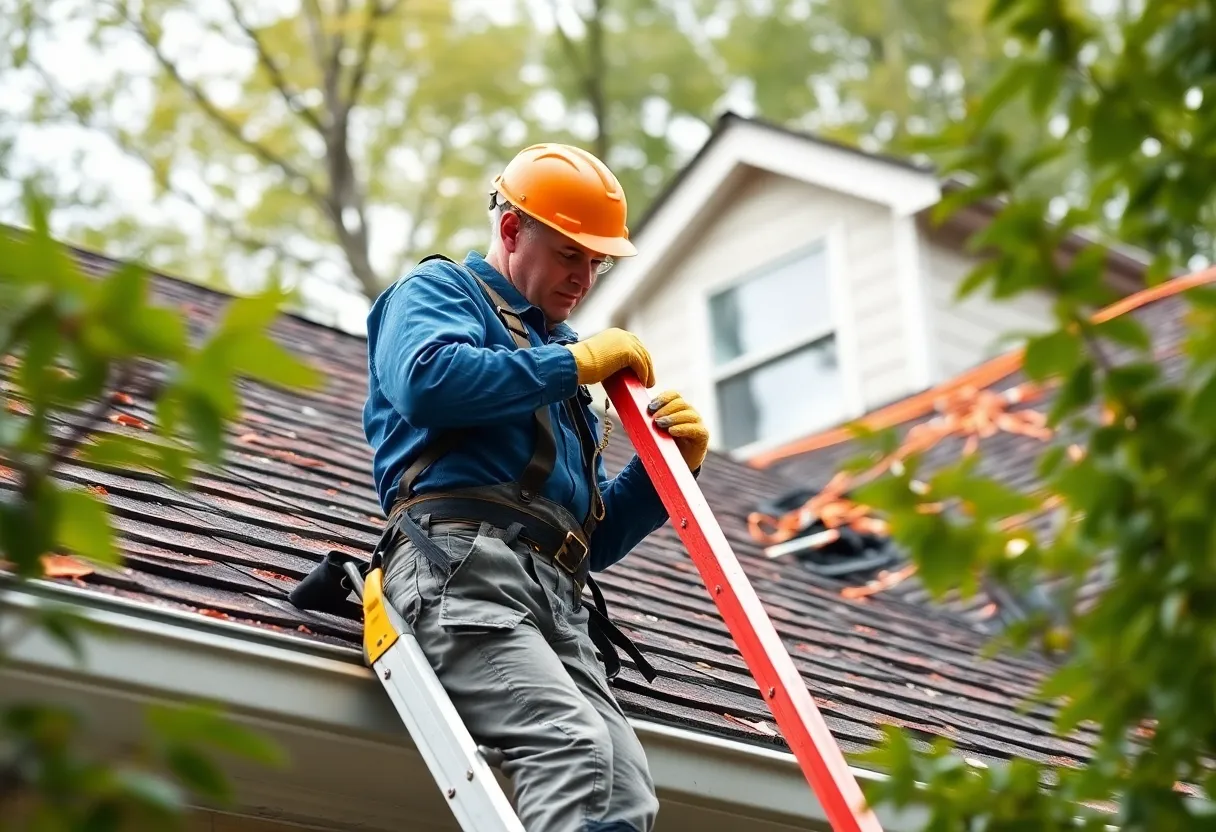
Safety Precautions
Safety is a priority when working on a roof. Follow these guidelines to ensure a safe working environment:
- Use a harness and safety rope if working on steep slopes.
- Ensure proper scaffolding or ladder setup for reaching higher areas.
- Always work with a partner, especially when handling large materials.
Step-by-Step Installation Guide
Step 1: Measuring and Cutting
Begin by measuring the area where the gable will be installed. Here is how to proceed:
- Measure the width of the roof’s pitch to determine the necessary height of your gable.
- Use a straightedge or chalk line to mark where your cuts will be on the roofing material.
- Carefully cut the wood using the saw, always following safety precautions.
Step 2: Installing the Gable Frame
Once your cuts are made, follow these steps to install the gable frame:
- Begin with the bottom plate first. Secure it using nails to hold it in place.
- Add vertical studs from the bottom plate to the peak, ensuring they’re spaced evenly.
- Insert the top plate on the studs and secure using nails.
Step 3: Sheathing the Gable
After the frame is in place, install sheathing to cover the gable. This is how to do it:
- Cut pieces of plywood or OSB to fit the gable frame.
- Align the edges and affix them securely with nails.
- Seal gaps with caulk for additional weatherproofing.
Step 4: Roofing Installation
Now it’s time to install roofing materials:
- Start at the bottom and work your way up, overlapping each row of shingles.
- Use roofing adhesive as needed to secure shingles in place.
- Ensure you are using uniform materials to maintain a consistent appearance.
Final Touches
After completing the installation, conduct a thorough inspection:
- Check for any loose shingles and tighten as necessary.
- Inspect the structural integrity of the gable frame.
- Ensure that the gable aligns properly with existing roof lines.
Maintenance Tips
To ensure your newly installed gables remain in great condition, consider the following maintenance tips:
- Inspect the gables regularly, especially after severe weather.
- Clear debris from gutters and roof edges to avoid water pooling.
- Repaint or perform necessary touch-ups every few years.
Common Issues and Solutions
Even after careful planning, some issues may arise:
- Water Leaks: If leaks occur, inspect the roofing materials and seal any gaps immediately.
- Pest Intrusion: Ensure that the gable is sealed properly to prevent fauna from nesting.
Conclusion
Installing roof gables can significantly enhance your home’s functionality and aesthetic appeal. By following this step-by-step guide, homeowners can successfully undertake this DIY project with confidence.
Remember to prioritize safety, verify structural integrity, and adhere to local building codes. Happy roofing!