How to Identify and Fix Common Roof Ventilation Issues: A DIY Guide for Homeowners
Effective roof ventilation is critical for maintaining the integrity of your home. Proper ventilation controls temperature and moisture levels in the attic, preventing issues like mold growth and wood rot. Understanding how to identify and address common ventilation problems can save you money and protect your property. This guide will provide a comprehensive overview of roof ventilation issues and solutions.
Understanding Roof Ventilation
Roof ventilation works by allowing a balance of fresh air to enter and stale air to exit. This airflow regulates the attic temperature, which is essential for energy efficiency and longevity of roofing materials. There are two main types of roof ventilation:
- Intake Ventilation: These vents draw in cool air from the outside. Typical intake vents include soffit vents and eave vents.
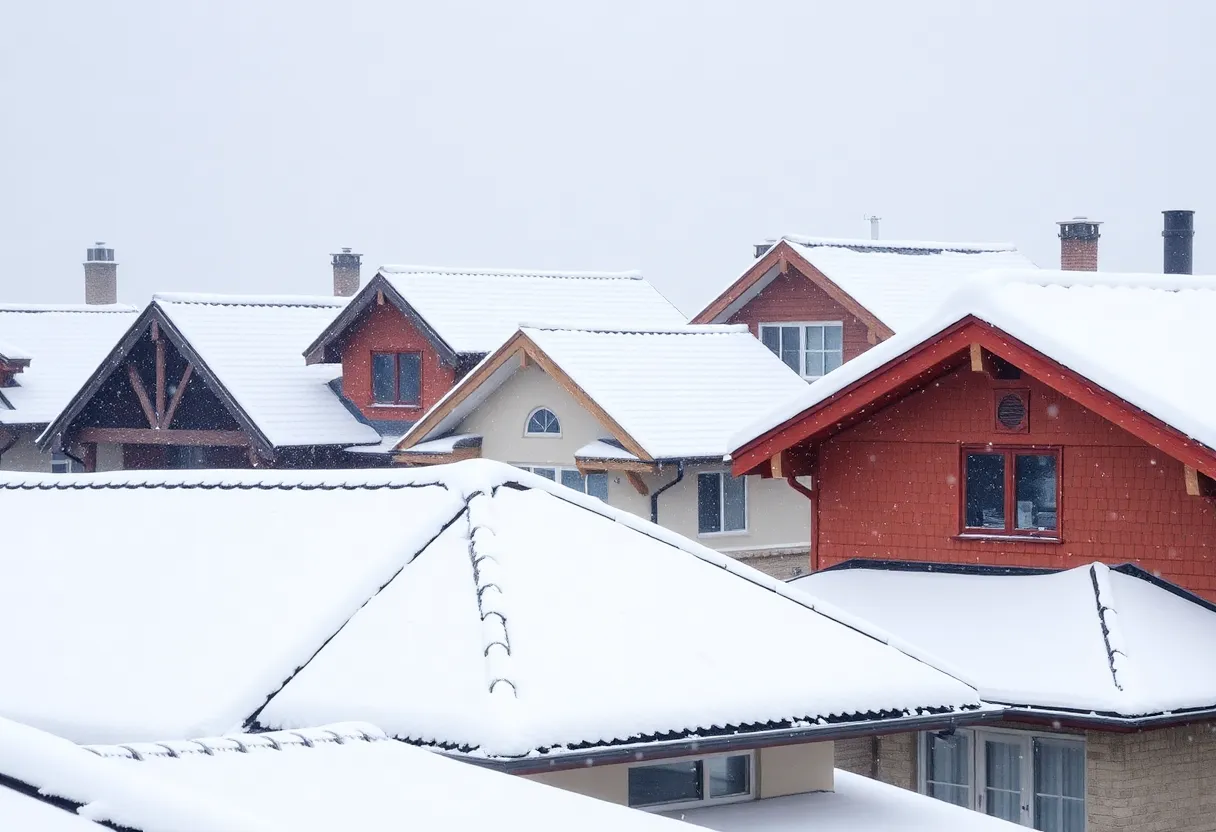
- Exhaust Ventilation: These vents help release hot air from the attic. Examples include ridge vents, gable vents, and turbine vents.
Signs of Poor Roof Ventilation
Identifying poor ventilation can protect your home from damage. Look for these common signs:
1. Excess Moisture
If you notice condensation on roof rafters or water stains on ceilings, your attic may be retaining too much moisture. This could potentially lead to mold and mildew growth.
2. High Energy Bills
Inadequate ventilation can cause your HVAC system to work harder, leading to increased energy costs. If your bills rise unexpectedly, it could be due to poor attic airflow.
3. Roof Damage
Check for curled, cracked, or missing shingles. Excessive heat build-up can distort roofing materials, leading to premature deterioration.
4. Pest Infestations
Rodents and insects are often drawn to warm, moist environments. If you experience uninvited guests in your attic, investigate possible ventilation issues.
How to Diagnose Ventilation Issues
Identifying the root causes of ventilation problems is crucial for effective fixes. Here’s how to assess your roof ventilation:
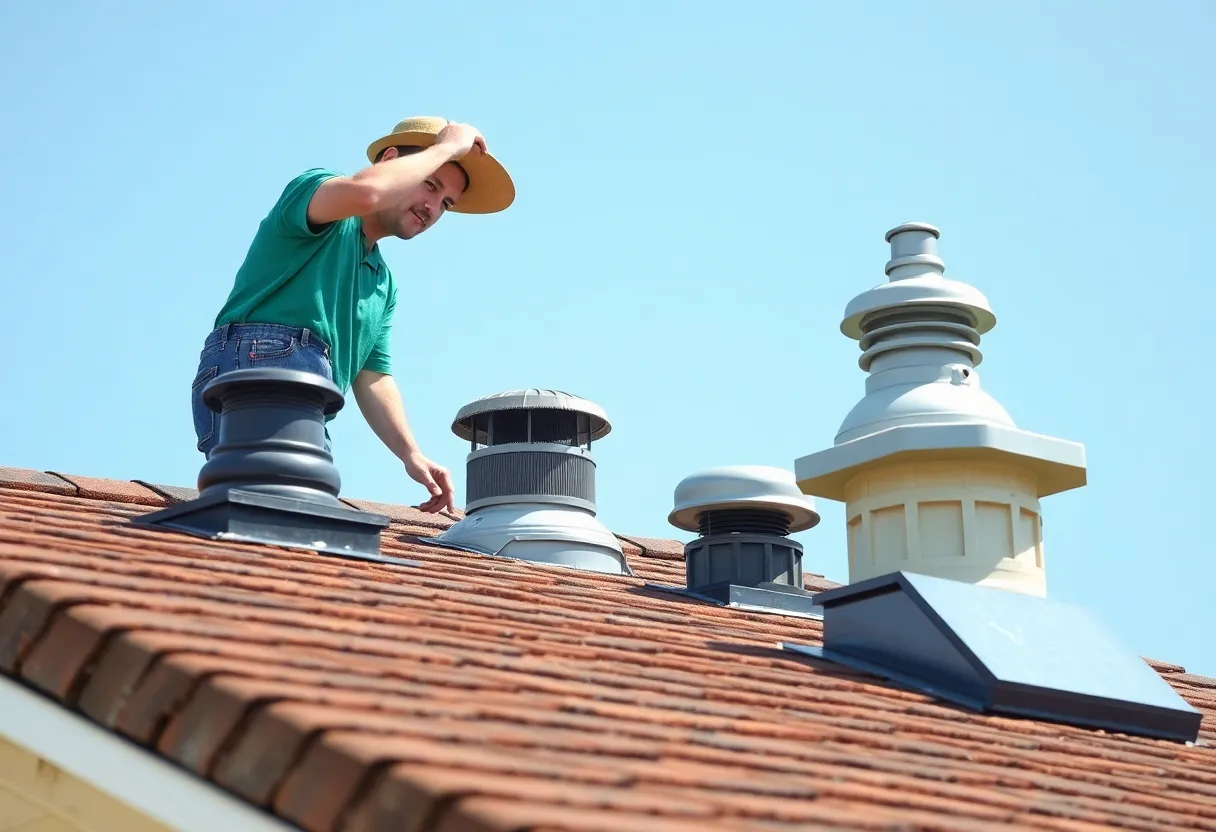
Step 1: Inspect Your Vents
Examine your intake and exhaust vents. Ensure they are clear of debris, covered, or blocked by insulation. Take note of any damages or obstructions.
Step 2: Check Attic Temperature
On a warm day, the attic temperature should ideally be close to the outside temperature. A significant difference indicates stagnant air. Utilize a simple thermometer for this evaluation.
Step 3: Look for Moisture and Mold
Inspect the underside of the roof deck and rafters for signs of moisture or mold. White streaks or fuzzy growth indicate issues. Not addressing this can worsen ceiling and structural integrity.
Step 4: Evaluate Insulation
Make sure insulation is not covering ventilation openings. Proper insulation should complement, not obstruct, airflow.
Common Roof Ventilation Problems and Solutions
Once you’ve identified ventilation issues, you can take steps to rectify them. Here are common problems with their respective solutions:
1. Inadequate Intake Ventilation
If there aren’t enough intake vents, this can prevent proper airflow. To remedy this:
- Add soffit or eave vents to facilitate air entry.
- Consider installing additional lower vents to create a good air exchange ratio.
2. Blocked Exhaust Vents
Blocked exhaust vents can cause heat accumulation. Here’s how to fix this:
- Clear any debris, including leaves and dirt, from ridge vents and other exhaust locations.
- Inspect for animal nests and remove them carefully.
3. Insulation Problems
Insulation must not obstruct airflow. For efficient ventilation:
- Use baffles in the soffit area to maintain airflow between insulation and the roof deck.
- Regularly check for compressed or poorly installed insulation.
4. Incorrectly Sized Vents
Improperly sized vents can lead to insufficient airflow. Consult a professional or use the following guidelines:
- A minimum of one square foot of vent space is needed for every 150 square feet of attic space, depending on the type of vent.
- For every 300 square feet of attic space, two square feet of ventilation is recommended if the attic has vapor barriers.
Advanced Solutions for Persistent Issues
Sometimes, basic fixes are not enough. If ventilation issues persist, consider advanced strategies:
1. Install Power Vents
Power vents utilize electricity to increase airflow for homes with serious ventilation challenges. They can significantly enhance air exchange rates, but make sure they are used correctly to avoid creating negative pressure.
2. Roof Installations
In the case of inadequate roof pitch, consider consulting with a roofing specialist about potentially upgrading your roofing system to improve airflow.
3. Professional Inspection
If problems continue after your DIY efforts, it may be wise to engage a professional. They can provide in-depth inspections and solutions tailored to your home’s unique needs.
Safety Considerations
Safety must remain a priority during DIY assessments and repairs. Here are some crucial guidelines:
- Always use proper safety gear, like sturdy shoes and helmets, when on the roof.
- If you feel uncomfortable at heights, do not hesitate to contact professionals.
- Never work alone; have someone nearby in case of emergencies.
Regular Maintenance Practices
Establishing a routine maintenance schedule for roof ventilation can prevent issues from arising. Here are key practices:
- Inspect the roof and ventilation system at least twice a year, ideally in spring and fall.
- Clear debris from gutters and vents to maintain airflow.
- Check for signs of wear and tear, and address any issues promptly.
Conclusion
Identifying and fixing roof ventilation issues is essential for the health of your home. By recognizing the signs of poor ventilation and employing effective solutions, homeowners can protect their investments and ensure long-term comfort. Remember to prioritize safety and consider professional guidance when needed. Maintain regular inspections and practice proper upkeep to keep your roof functioning effectively for years to come.