How to Transform Your Roof with DIY Solar Panel Installation: A Step-by-Step Guide for Homeowners
Installing solar panels can significantly reduce your electricity bills and contribute to environmental sustainability. This guide outlines the essential steps for homeowners looking to undertake a DIY solar panel installation.
Understanding Solar Panel Systems
Before diving into installation, it’s important to grasp the basics of solar panel systems. They primarily consist of:
- Solar Panels: These convert sunlight into electricity.
- Inverter: This device converts the generated direct current (DC) into alternating current (AC), making it usable in your home.
- Mounting System: This equipment secures the panels to your roof.
- Batteries (Optional): These store excess energy for later use.
Benefits of DIY Solar Panel Installation
Homeowners may opt for a DIY approach due to various advantages:
- Cost Savings: Installing the panels yourself can reduce labor costs significantly.
- Customization: DIY allows for tailored solutions that fit your specific energy needs.
- Learning Experience: Gaining knowledge about your energy system can empower you with better management skills.
Preparation Before Installation
Preparation is key to a successful DIY solar panel installation project. Here’s how to begin:
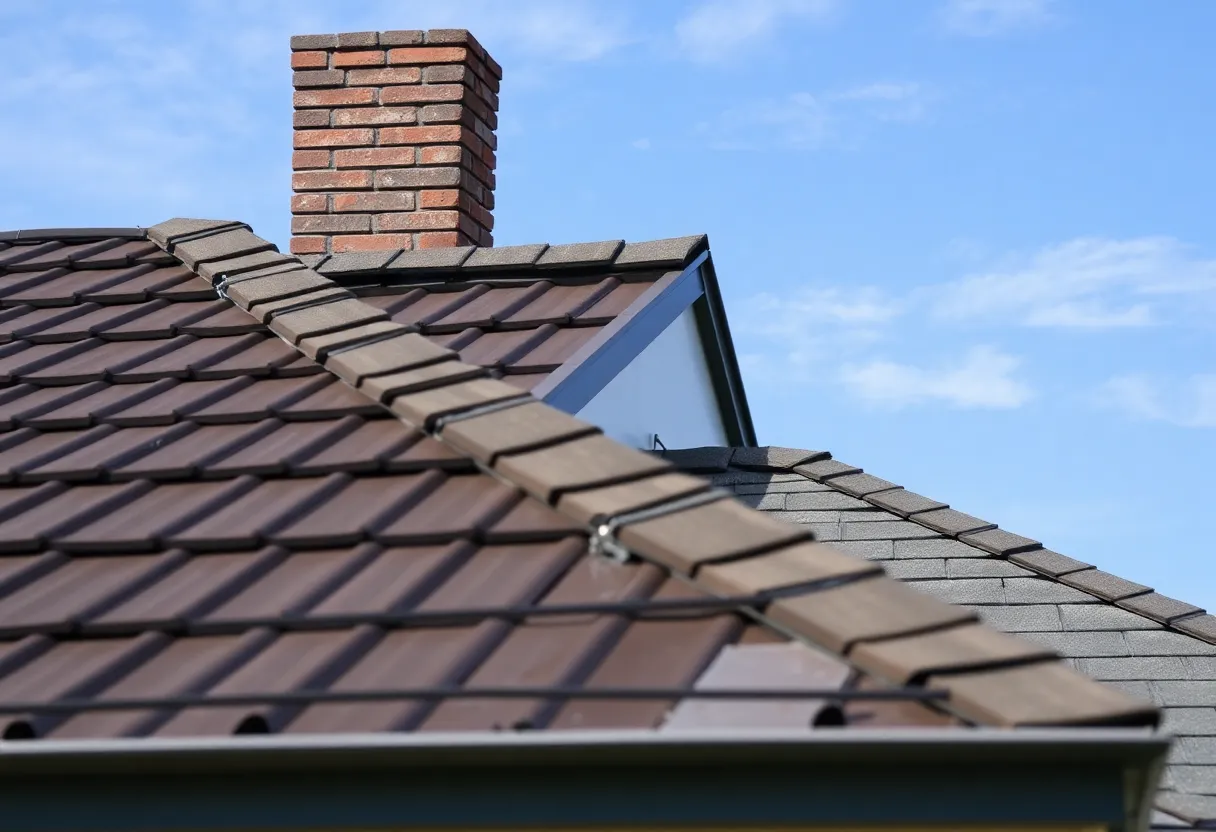
1. Assess Your Roof Condition
Ensure your roof is in good condition. Look for:
- Missing or damaged shingles
- Leaks or water stains
- Overall structural integrity
2. Check Local Regulations and Incentives
Research local regulations regarding solar installations. Some areas require permits, while others may offer incentives or rebates to homeowners.
3. Calculate Energy Needs
Determine how much energy your household consumes. This can typically be found on your energy bill. Calculate your peak energy output requirements to guide your solar panel purchase.
4. Choose the Right Solar Panels
Select the solar panels that best suit your energy needs and budget. Consider factors like:
- Efficiency ratings
- Warranty terms
- Manufacturer reputation
Required Tools and Materials
Having the right tools and materials is crucial for a smooth installation process. Here are the essentials you’ll need:
- Solar panels
- Mounting brackets
- Inverter
- Cables and connectors
- Drill and drill bits
- Screwdriver
- Ladder
- Safety gear (gloves, goggles, etc.)
Installation Steps
Follow these detailed steps to install your solar panels:
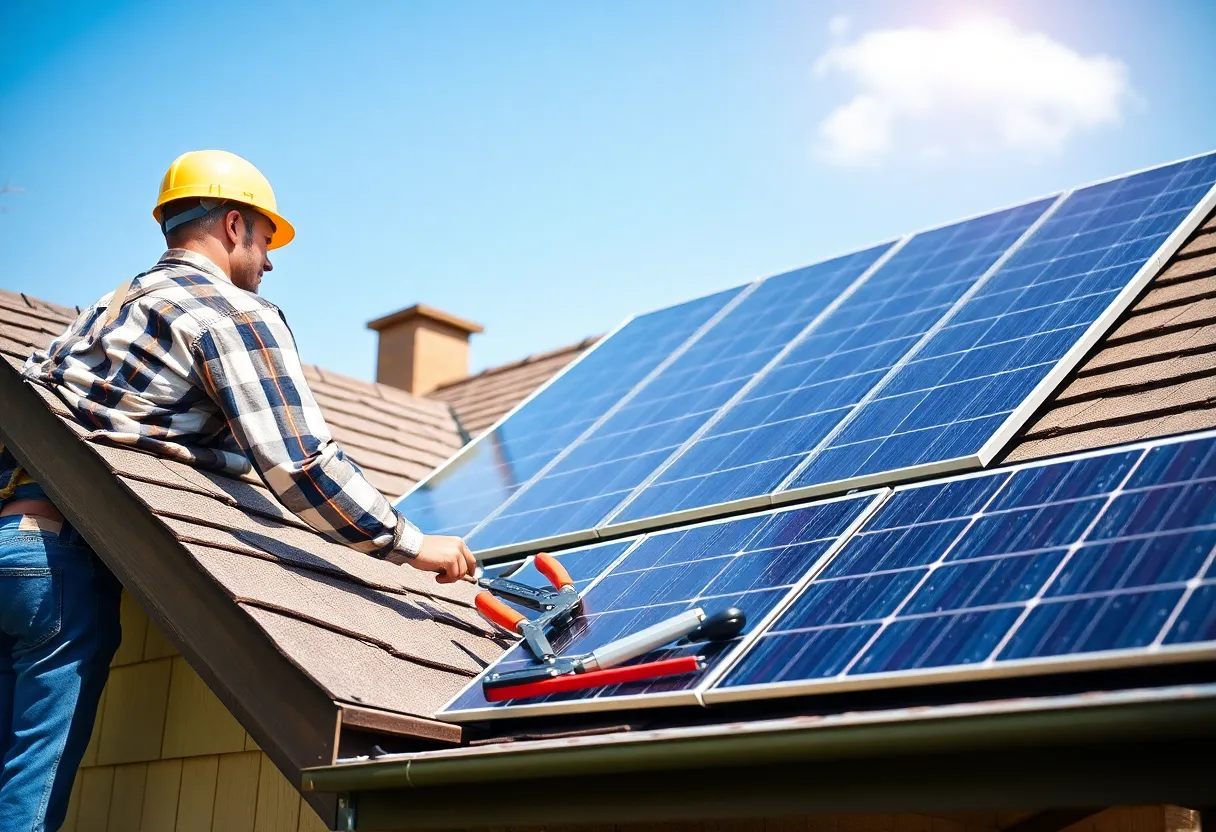
Step 1: Install Mounting Brackets
Begin by determining the most effective placement for your solar panels. Consider factors such as roof angle and shade. Use the drill to secure the mounting brackets according to the manufacturer’s instructions. Ensure each bracket is level.
Step 2: Attach Solar Panels
Once the brackets are securely in place, carefully attach the solar panels to the brackets. Make sure all panels are connected according to the installation guide.
Step 3: Install the Inverter
The inverter can be mounted inside or outside your home depending on your setup. Follow manufacturer guidelines to ensure proper ventilation and protection from the elements.
Step 4: Connect Electrical Components
Connect the solar panels to the inverter using specialized cables. Follow the wiring diagrams provided with your equipment to ensure a safe and effective connection.
Step 5: Connect to Your Home’s Electrical System
Carefully connect the inverter output to your home’s electrical system. This step may involve working with high voltage. If unsure, consult a licensed electrician.
Testing and Monitoring Your System
Upon completing the installation, it’s imperative to test the system:
1. Turn the System On
Switch on the inverter. Most models include indicators to ensure the system is properly functioning.
2. Monitor Performance
Monitor the energy production through your inverter’s monitoring system. Regularly check for any anomalies to maintain optimal performance.
Maintenance Tips for Longevity
To ensure your solar panel system operates efficiently over the years, consider these maintenance tips:
- Regular Cleaning: Dust, leaves, and debris can affect performance. Clean the panels as needed.
- Inspection: Conduct periodic inspections to identify any damage or wear and tear.
- Professional Check-ups: It may be beneficial to hire a professional at least once a year to assess system performance.
Final Considerations
Transforming your roof with DIY solar panel installation is a rewarding project that can yield significant benefits. By carefully researching and adhering to these steps, you can contribute to energy conservation while reducing your utility bills.
Always prioritize safety throughout the installation process. If at any point you feel uncertain, do not hesitate to consult professionals. Remember, while the installation may be DIY, maintaining your system effectively requires ongoing diligence.
Author: HERE Greenwood
The GREENWOOD STAFF WRITER represents the experienced team at HEREGreenwood.com, your go-to source for actionable local news and information in Greenwood, Greenwood County, and beyond. Specializing in "news you can use," we cover essential topics like product reviews for personal and business needs, local business directories, politics, real estate trends, neighborhood insights, and state news affecting the area—with deep expertise drawn from years of dedicated reporting and strong community input, including local press releases and business updates. We deliver top reporting on high-value events such as the Festival of Flowers, Greenwood Community Theatre performances, and agricultural showcases at the Greenwood County Fairgrounds. Our coverage extends to key organizations like the Greenwood Chamber of Commerce and the Greater Greenwood United Ministry, plus leading businesses in manufacturing and healthcare that power the local economy such as FujiFilm Manufacturing and Self Regional Healthcare. As part of the broader HERE network, including HERECharleston.com, HEREColumbia.com, HEREGreenville.com, and HEREHiltonHead.com, we provide comprehensive, credible insights into South Carolina's dynamic landscape.